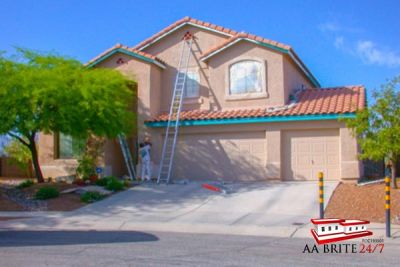
How to Paint Your Home’s Exterior in 19 Steps
Listed below is our exterior painting process and information business and home owners find helpful for preparing to get exterior painting work.
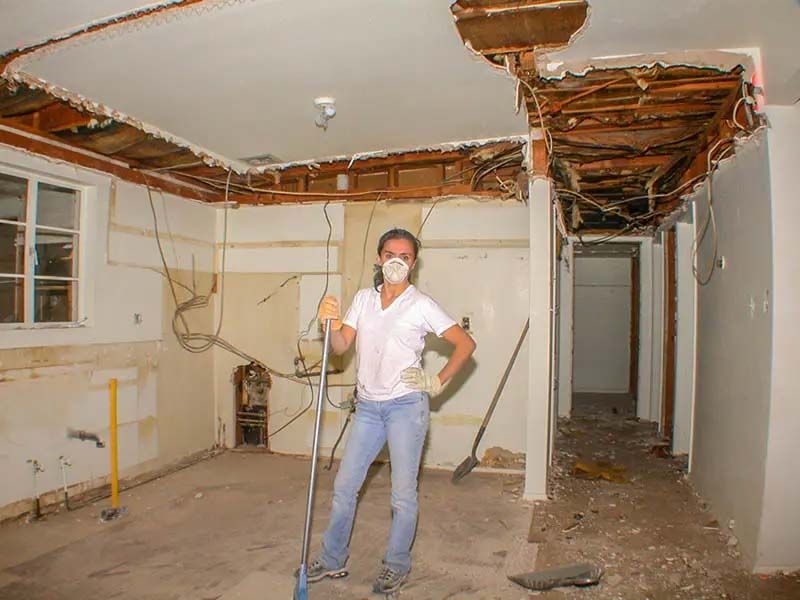
Before

After
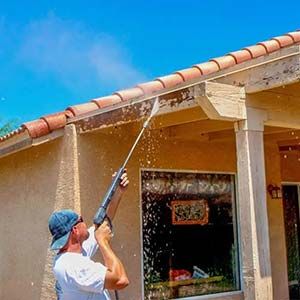
Step 1: Pressure Wash.
Clients are frequently surprised at how aggressive our pressure washing is. This is how it is supposed to be. Loose paint is supposed to come off before the painting starts, not after the job is finished.

Step 2: Trench.
Most companies spray down to the dirt and then stop. When it rains, the soil moves and there is a line where the paint stops. We do the extra work and trench below grade to prevent this line. After painting we return the soil and rocks.

Step 3: Scrape Loose Paint
Pressure washing causes some building material to soak up water. When the wood dries out a small amount of paint will curl up on the edges. After the surface is dry we carefully scrape loose paint. One more step for high quality.
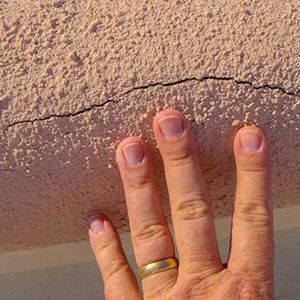
Step 4: Caulk Cracks or Fill them with paint.
Stucco buildings will always get cracks over time, especially on the parapets and around the windows. We fill these cracks as well
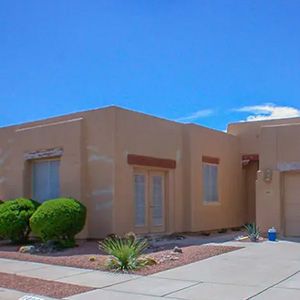
Step 5: Spot Patch Stucco.
It’s common for small spots of stucco to flake off. Corners have often been chipped by pets or kids with bicycles. We patch these spots for you.p>
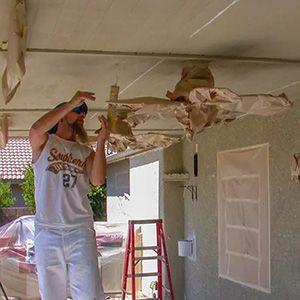
Step 6: Cover Ceiling Fans, Lights, Utility Meter Faces etc.
If it shouldn’t be painted it should be covered. We will cover your items with plastic, paper and tape as required to protect them.
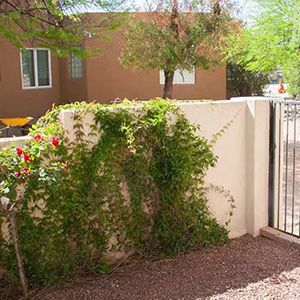
Step 7: Trim Back Bushes and Trees As Required
We trim bushes and trees as needed to provide a quality paint job. Our preference is to have a landscaper do this prior to painting so you get exactly the cut you desire. If it’s not a concern then we take care of this for you. Some people prefer to leave the plants alone, and to paint around them. We are also agreeable to this if its your desire. Shown below is an example of “leave the plants alone”. In situations like this the ideal thing to do is to trim back the plant a reasonable amount, and then to paint around it.
Step 8: Remove Sun Screens
Screens are removed and reinstalled on older homes with metal frame windows so the window frame can be painted. On newer homes the screens can be left in and covered with plastic since the aluminum window frames don’t get painted. If window sun screens are present and are sticking out, they will be removed prior to painting.
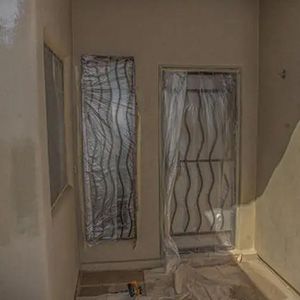
Step 9: Put Plastic Sheeting on Windows and Doors.
Our painters’ mantra: “If it doesn’t get painted it should be covered.”
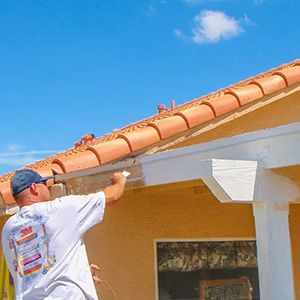
Step 10: Spot Prime as Required.
We apply primer or premium self priming paint to exposed wood or stucco to give you a superior paint job.

Step 11: Paint Exterior Body and Fascia same or new color.
We paint the body AND the fascia since a job is not complete until they are both painted.

Step 12: Premium Exterior Paint.
It’s ironic that some contractors use cheap paint, because it is more difficult to use and much more abrasive to the spray equipment painters use. It’s false economy for both the painter and the client to use cheap paint. Premium paint applies faster and it goes on thicker, so there is less touch up. We both win–you get a better job and we are not frustrated with dripping paint and worn out machines.
Step 13: Application of 3 coats of Premium paint to exterior walls & eves.
Walls and eves are typically painted end to end 3 times before we move to paint another wall. The first coat is sprayed onto the stucco & eves. The second coat is sprayed on stucco and eves, with the stucco area being back rolled as its sprayed.
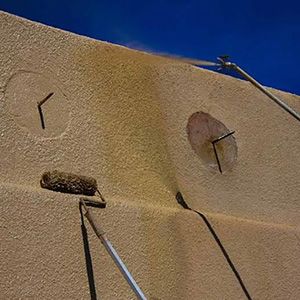
Step 14: Backroll.
Backrolling is when paint is sprayed on with a sprayer and is rolled with a roller. During the process of backrolling, paint is pushed deeper into the stucco with the roller than it would be with a sprayer alone. It’s the equivalent of using your fingers to work shampoo deeply into thick hair. Typically the second coat is backrolled, but on really dry stucco, as in not painted in a long time, backrolling can’t be done until the third coat.
Step 15:Exterior fascia is painted two coats by hand.
This helps us to work the paint into the small cracks in the wood (like back rolling) and lowers the chance of getting paint overspray on the roof.
Step 16: Fill & Paint any cracks which are still visible.
Some stucco walls will have thousands of cracks on them. It’s common on jobs like these for some cracks to “appear” after a few coats of paint have been applied. The cracks were always there, we just could not see all of them. Technically there is no problem with filling them after paint has been applied, and then painting them again.
Several times a year I get calls from homeowners who are concerned there are cracks showing after paint has been applied to their home, but before we are finished with the job. There will almost always be cracks which could not be seen prior to applying paint. These cracks can be caulked or filled after paint has been applied, and then painted over. This is a natural and expected part of the process. Paint and caulk are highly compatible and it does not matter if paint is put on before or after caulk is applied so long as the caulk is painted over before the job is completely finished.
Stucco patching is the same as caulking in that some of the patch work will be done after paint is applied. It might be hard to imagine but it’s A LOT easier to see areas needing to be patched after they have been spray painted. The best example I can give is this: Think of an old car with dingy faded paint. This car has a few small dents on it. Now think of a shiny new car with two small dents. Would you notice the dents more on the old dingy car or the new shiny one? Answer – The shiny new car will show the dents more in the same way freshly painted stucco makes it easier for us to find the rest of the cracks and areas needing additional patch work.
Step 17: Professional Cleanup.
We always clean up the job site.
Step 18: Leave touch up paint with the client.
In the future, if a corner is nicked by a wheelbarrow or bicycle we want you to have some touch-up paint. On Caulking Cracks & Spot Patching Stucco.
All material and labor is included in our bids unless noted otherwise in writing.
We Provide Various Options.
Jobs are bid “cafeteria-style” so clients can pick and choose what they want done and what they can skip to save money. For example, a standard Rita Ranch home with a swimming pool will be quoted with a base price for painting the stucco walls and trim of the house and then on separate line items will be the cost for the pool fence and the side gate. If you want the pool fence or side gate painted you know the price before we start. You get only what you want and are not required to pay for extras. Plus items can be added after we start, without renegotiating the price.
More Painting Tips


